How to Safely Remove Lead Paint from Older Homes
If your house was built before 1978, there’s a good chance it contains lead-based paint. This guide will help you understand why it’s important to remove lead paint safely, the risks involved, and the steps you can take to ensure you and your loved ones remain safe during the process.
Lead paint poses serious health risks, especially to children and pregnant women. This post will cover everything you need to know to tackle this hazardous task responsibly. From identifying lead paint to using proper protective gear and cleanup techniques, we’ve got you covered. Let’s get started on making your home not just beautiful, but safe too.
Understanding the Dangers of Lead Paint
Health Risks Associated with Lead Exposure
Lead exposure can cause severe health issues, particularly in children. It can damage their developing brains, leading to cognitive impairments and behavioral problems. Even low levels of lead can cause learning and attention issues, making it crucial to address any lead paint hazards in your home promptly.
Adults aren’t immune either. Lead exposure can result in high blood pressure, joint pain, and reproductive issues. Pregnant women must be especially cautious, as lead can harm the developing fetus, leading to potential birth defects or developmental delays.
Recognizing Lead Paint in Your Home
Before starting any removal process, it’s essential to confirm the presence of lead paint. Homes built before 1978 are likely candidates. The most reliable method is to hire a certified professional to conduct a lead-based paint inspection or risk assessment. These experts use specialized tools and techniques to accurately determine whether your home contains lead paint.
You can also purchase DIY lead testing kits available at hardware stores. While these kits can provide a quick indication, they aren’t as reliable as professional assessments. Use them as a preliminary step rather than a definitive measure.
Legal Requirements for Lead Paint Removal
In many areas, there are stringent regulations governing the removal of lead paint. It’s crucial to familiarize yourself with local laws and guidelines. In the United States, the Environmental Protection Agency (EPA) has established the Renovation, Repair, and Painting (RRP) Rule, which mandates that only certified professionals undertake lead paint removal projects.
In many areas, there are stringent regulations governing the removal of lead paint. It’s crucial to familiarize yourself with local laws and guidelines. In the United States, the Environmental Protection Agency (EPA) has established the Renovation, Repair, and Painting (RRP) Rule, which mandates that only certified professionals undertake lead paint removal projects.
Failing to comply with these regulations can result in hefty fines and potential health hazards. Make sure to check your local housing authority’s guidelines and hire certified contractors if necessary.
Preparing for Lead Paint Removal
Supplies and Equipment
Before embarking on the removal process, gather all the necessary supplies and equipment. Key items include:
- Heavy-duty plastic sheeting
- Duct tape
- Protective clothing (including gloves, goggles, and a respirator)
- HEPA vacuum cleaner
- Wet sanding tools
- Chemical paint strippers (lead-safe varieties)
Having the right tools will not only make the process smoother but also ensure you’re adhering to safety protocols. Missing out on any essential supplies can compromise the safety and effectiveness of your lead paint removal efforts.
Setting Up
Containing the work area is crucial to prevent lead dust from spreading throughout your home. Use heavy-duty plastic sheeting to cover floors, furniture, and other surfaces. Seal off doorways and vents with duct tape to limit the spread of dust.
Establish a designated space for removing and disposing of contaminated materials. Keep children and pets away from the work area to reduce the risk of accidental exposure. Properly labeled waste bags should be readily available to collect all debris and dust.
Personal Protective Gear
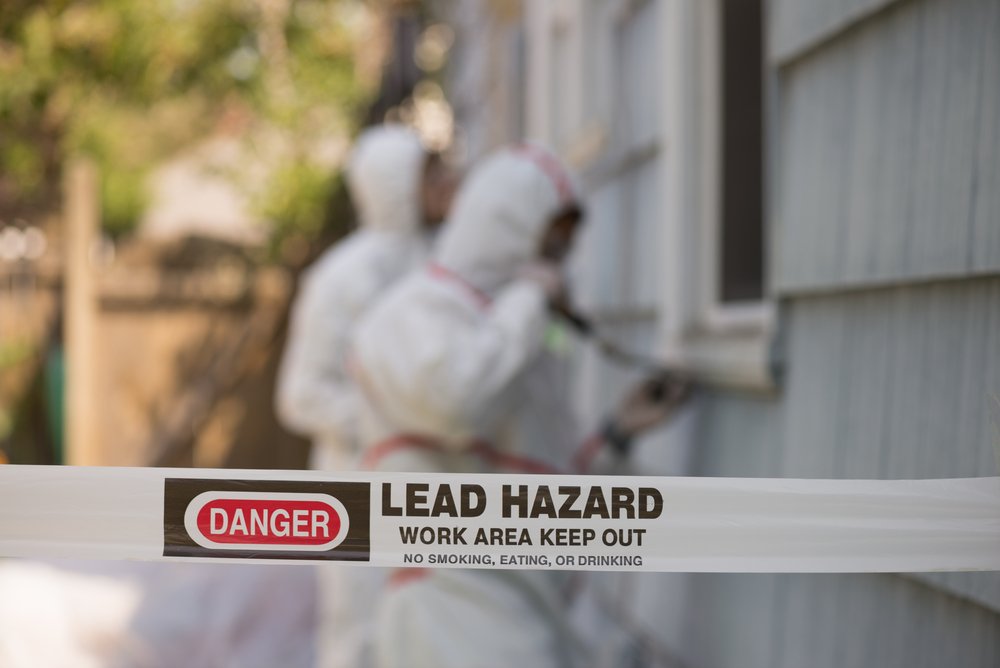
Wearing appropriate protective gear is non-negotiable when dealing with lead paint. Equip yourself with:
- Disposable coveralls
- Nitrile gloves
- Safety goggles
- A respirator with a HEPA filter
This gear will shield you from inhaling or coming into direct contact with lead particles. Ensure a proper fit for all equipment, as ill-fitting gear can compromise your safety. Regularly check and replace filters on respirators to maintain their effectiveness.
Safe Lead Paint Removal Techniques
Wet Sanding and Scraping Methods
Dry sanding or scraping lead paint is highly discouraged as it releases harmful dust into the air. Instead, opt for wet sanding or scraping. Dampen the surface with water before sanding or scraping to minimize dust generation.
Dry sanding or scraping lead paint is highly discouraged as it releases harmful dust into the air. Instead, opt for wet sanding or scraping. Dampen the surface with water before sanding or scraping to minimize dust generation.
Use a putty knife or a specially designed lead paint scraper for the job. Always keep the area moist during the process to further reduce dust. Collect any debris immediately and place it in sealed, labeled bags.
Using Chemical Paint Strippers
Chemical paint strippers can be an effective way to remove lead paint without generating dust. However, it’s vital to choose a lead-safe variety. Apply the stripper following the manufacturer’s instructions, and use a scraper to remove the softened paint.
Chemical paint strippers can be an effective way to remove lead paint without generating dust. However, it’s vital to choose a lead-safe variety. Apply the stripper following the manufacturer’s instructions, and use a scraper to remove the softened paint.
Work in small sections to maintain control and prevent the spread of contaminants. Ensure proper ventilation in the work area to avoid inhaling fumes from the chemical strippers.
Employing a HEPA Vacuum Cleaner
A HEPA vacuum cleaner is essential for cleaning up lead dust and debris. Standard vacuums can’t filter out fine lead particles, so investing in a HEPA model is crucial. Regularly vacuum the work area, including all surfaces and protective sheeting.
After vacuuming, dispose of the vacuum bag in a sealed, labeled container. Clean the vacuum’s filters and hoses to prevent cross-contamination.
Post-Removal Cleanup and Safety Checks
Thorough Cleaning Procedures
Once the lead paint is removed, it’s vital to conduct a thorough cleanup to eliminate any remaining dust. Start by wet-wiping all surfaces with a high-phosphate cleaner. This helps neutralize any residual lead particles.
Follow up with another round of HEPA vacuuming. Pay special attention to corners, crevices, and other hard-to-reach areas. Repeat the cleaning process several times to ensure complete removal of contaminants.
Proper Disposal of Contaminated Materials
Disposing of lead-contaminated materials correctly is crucial. Place all debris, protective gear, and cleaning supplies in sealed, labeled bags. Contact your local waste management facility to inquire about proper disposal methods for hazardous materials.
Improper disposal can pose significant environmental risks, so always follow local regulations and guidelines. Some areas may offer specialized disposal services for lead-contaminated waste.
Conducting a Final Safety Inspection
After completing the cleanup, conduct a final safety inspection to ensure no traces of lead remain. Consider hiring a certified lead inspector to perform a clearance test. This test involves collecting dust samples and analyzing them for lead content.
Passing a clearance test certifies that your home is free from lead hazards, providing peace of mind for you and your family. If any areas fail the test, repeat the cleaning process until you achieve satisfactory results.
Next Steps
Safely removing lead paint from older homes is essential for protecting your family’s health and well-being. By understanding the risks, preparing adequately, and following proper removal techniques, you can create a safe, lead-free environment.
Remember to stay vigilant with regular monitoring and testing, and seek professional help when needed. With these steps, you’ll not only preserve the charm of your older home but also ensure it remains a safe haven for years to come.
If you’re ready to take the next step in maintaining a lead-safe home, consider booking a consultation with a certified lead inspector. Their expertise can provide valuable guidance and peace of mind as you work towards a safer living space.

