
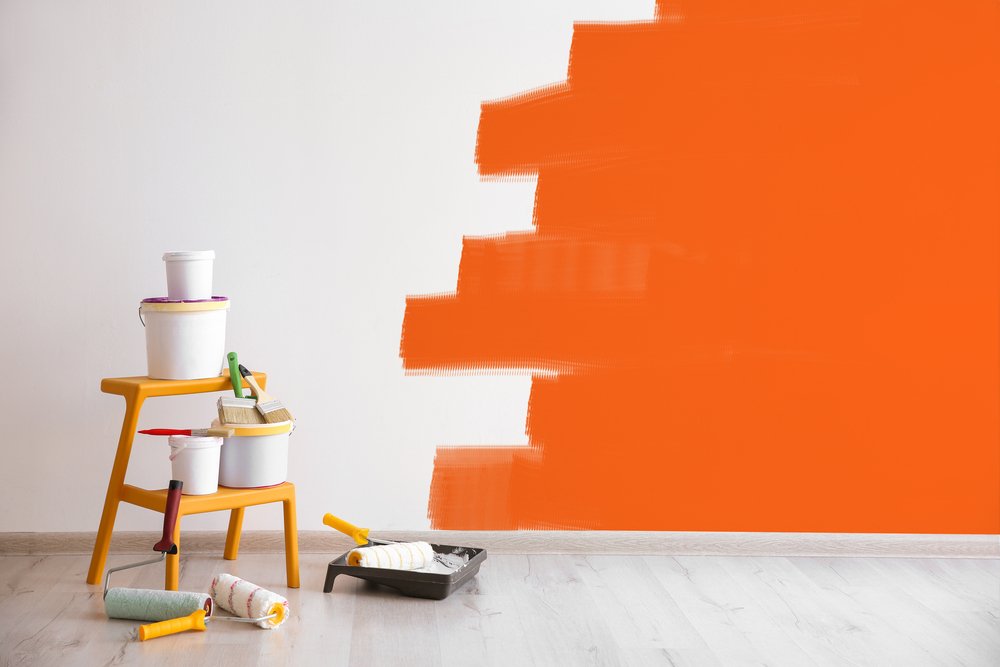
You’ve just finished painting your walls — a fresh, vibrant splash of color that brings new life and energy to your space. But wait, what’s this? Small, round bubbles start appearing, marring the smooth finish you worked so hard to achieve. This post is your ultimate guide to dealing with paint bubbles, ensuring your walls stay impeccable, and your paint jobs picture-perfect.
Understanding the Culprits of Paint Bubbles
Why do paint bubbles occur? There are several common reasons:
Moisture and Humidity
One of the main culprits is moisture. Water can seep through the walls from the outside or build up inside due to poor ventilation, especially in areas like bathrooms and kitchens. High humidity during painting can also lead to bubbles.
Incorrect Preparation
Not properly cleaning or priming the walls before painting can prevent the paint from adhering properly, allowing air pockets to form and bubbles to emerge.
Low-Quality Paint or Tools
If you use low-quality or old paint, it may not form a strong bond with the wall. Similarly, worn or dirty painting tools can introduce contaminants that cause bubbles.
Rapid Drying
Paint that dries too quickly can trap solvents, preventing the release of air and causing bubbles. This issue is more common with alkyd or oil-based paints.
Pre-emptive Measures: How to Prevent Paint Bubbles Before They Start
The best way to deal with paint bubbles is to avoid them altogether. Here are some steps you can take to prevent bubbles from forming:
Prepare Your Walls Thoroughly
Wash your walls with a mild detergent and water, and follow up with a clean water rinse to ensure there is no residual cleaner on the surface.
After cleaning, inspect for any cracking or old paint that could be coming loose. These areas should be scraped and sanded smooth.
Control the Climate
Make sure your space is adequately ventilated to prevent the buildup of moisture. Use a dehumidifier if necessary, especially in high-humidity areas.
Paint during mild weather, avoiding days that are extremely hot or cold. Rapid temperature changes can affect drying times and paint adhesion.
Invest in Quality Paint and Tools
Choose a high-quality paint that is appropriate for your surface. Match the paint type to the environment, with latex paints being best for inside use due to their ability to breathe.
Ensure brushes and rollers are clean and in good condition. Replace rollers that have become matted down and brushes with splayed bristles.
Apply Paint Properly
Stir your paint thoroughly and apply it in thin, even coats. Do not overwork the paint, as this can introduce air. Allow proper drying time between coats.
The Repair Process: Deflating Those Pesky Paint Bubbles
If bubbles do appear, here’s how to fix them:
Assess the Damage
Check the bubbles to determine the cause—moisture, poor surface preparation, or other issues. This will help you prevent future bubbles.
Pop Them
Carefully pierce the bubble with a utility knife to release the trapped moisture or air. Be gentle to avoid peeling away more paint than necessary.
Smooth and Sand
Once the bubble is deflated, use fine-grit sandpaper to smooth the area. Feather the edges of the bubble with light sanding to blend it into the rest of the wall.
Repaint
Apply a thin coat of primer to the patched area to provide a stable base for the new paint. Once the primer is dry, repaint the area to match the rest of the wall.
Long-Term Solutions
To ensure that paint bubbles do not reappear, consider the following long-term solutions:
Maintain Good Ventilation
Continuously keep your home well-ventilated to prevent the buildup of moisture. Use exhaust fans in kitchens and bathrooms, and open windows when possible.
Regular Inspections and Maintenance
Schedule periodic inspections of your walls, especially in high-moisture areas. Look for signs of peeling or discoloration, which can signal a problem.
Use High-Quality Materials
When it’s time to repaint, invest in the best materials you can afford. Quality paint will bond better and be more resistant to blistering.
Take Your Time
Rushing through your painting projects can lead to mistakes. Always take the time to properly prepare your surfaces and follow paint manufacturer instructions.
Additional Tips and Tricks
Here are some additional strategies to consider:
Humidity Meters and Timers
Use humidity meters and paint timers to keep track of environmental conditions and drying times.
Caulk and Sealants
Consider using caulk and sealants in areas prone to moisture intrusion, like around windows and in gaps between walls and ceilings.
Research and Ask the Pros
If you’re unsure about the best practices, don’t hesitate to research or seek advice from a professional.
Remember, paint bubbles are reversible if caught early and addressed properly. With the right preventative measures and swift repair tactics, you can enjoy impeccably painted walls for years to come.